Managing subtitles in video recordings
If you’ve added a video recording to a slice, you can optionally give it subtitles. Here’s how to do that.
1. Create subtitles for your video using subtitle-editing software, and export those subtitles in SRT format. Soundslice does not have a built-in way of creating subtitles.
2. While editing your slice, click the Recordings button at the top of the page:
This will display the “Edit recordings” screen, which looks like this:
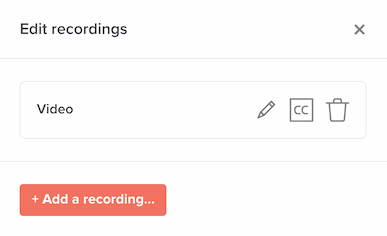
3. Click the CC icon next to the recording whose subtitles you want to change. You’ll be taken to the subtitles page for this recording. When empty, it looks like this:

4. Click “Add language.” You’ll see a screen like this:
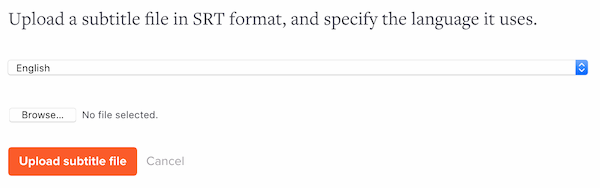
5. Here, choose the language that your subtitles are in. Then upload your SRT file.
That’s it. From then on, anybody viewing your slice will have the option of viewing those subtitles for that particular recording.
Listing and removing subtitles
Once a recording has subtitles for at least one language, the subtitles screen will look like this:
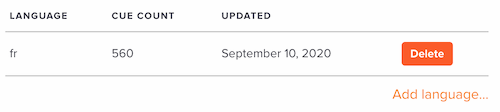
Click the Delete button next to any of the languages to remove those subtitles. You can also continue adding more languages.
How many languages can I add to a given recording?
As many as you’d like. We admire your commitment to the international community.
What if I have multiple recordings in a single slice — can they share subtitles?
No, you’ll need to give each recording its own subtitles.
I got the message “We couldn’t parse the subtitles file” — what’s up?
This means something is weird and/or non-standard in your file. Try recreating it with a different tool.