Slurs
Here’s how to work with slurs using the Soundslice editor.
Creating a slur
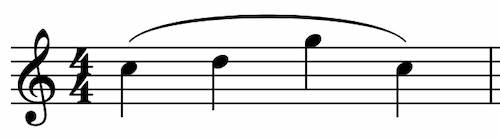
- Enter the notes.
- Select all of the notes that should be within the slur.
- Click the “Toggle slur for selected notes” icon in the editor’s left panel. Or search the editor for “Toggle slur for selected notes.”
Removing a slur
- Select one of the notes in the slur.
- You’ll see the slur icon in the current notations section. Click that icon to remove the slur.
Flipping slur direction
- Select one of the notes in the slur.
- In the editor’s top panel, open the “Format” section and click the “Toggle slur side for selected slur(s)” icon . Or search the editor for “Toggle slur side for selected slur(s).”
Controlling slur positioning
There’s no way to control slur positioning beyond specifying whether the slur is above or below the staff. This is because Soundslice automatically renders notation to fit your device and chosen zoom level.
Given this limitation, we’ve put a lot of work into making sure automatic slur layout looks good. If your slurs don’t look good, please contact us and send a screenshot of your notation — chances are we can improve our layout engine.
Slurs that span systems
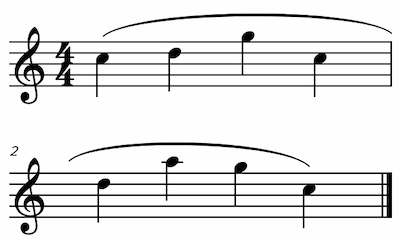
If you have a slur that spans multiple bars, it might be split across two systems — depending on your screen size and zoom level. You don’t need to do anything special in this case; Soundslice will automatically split the slur into two separate slurs if appropriate.